Documentation
Beralo Studio takes one local project from raw screenshots to a published App Store and Google Play listing. This guide walks through every module in order.
Projects & workspaces
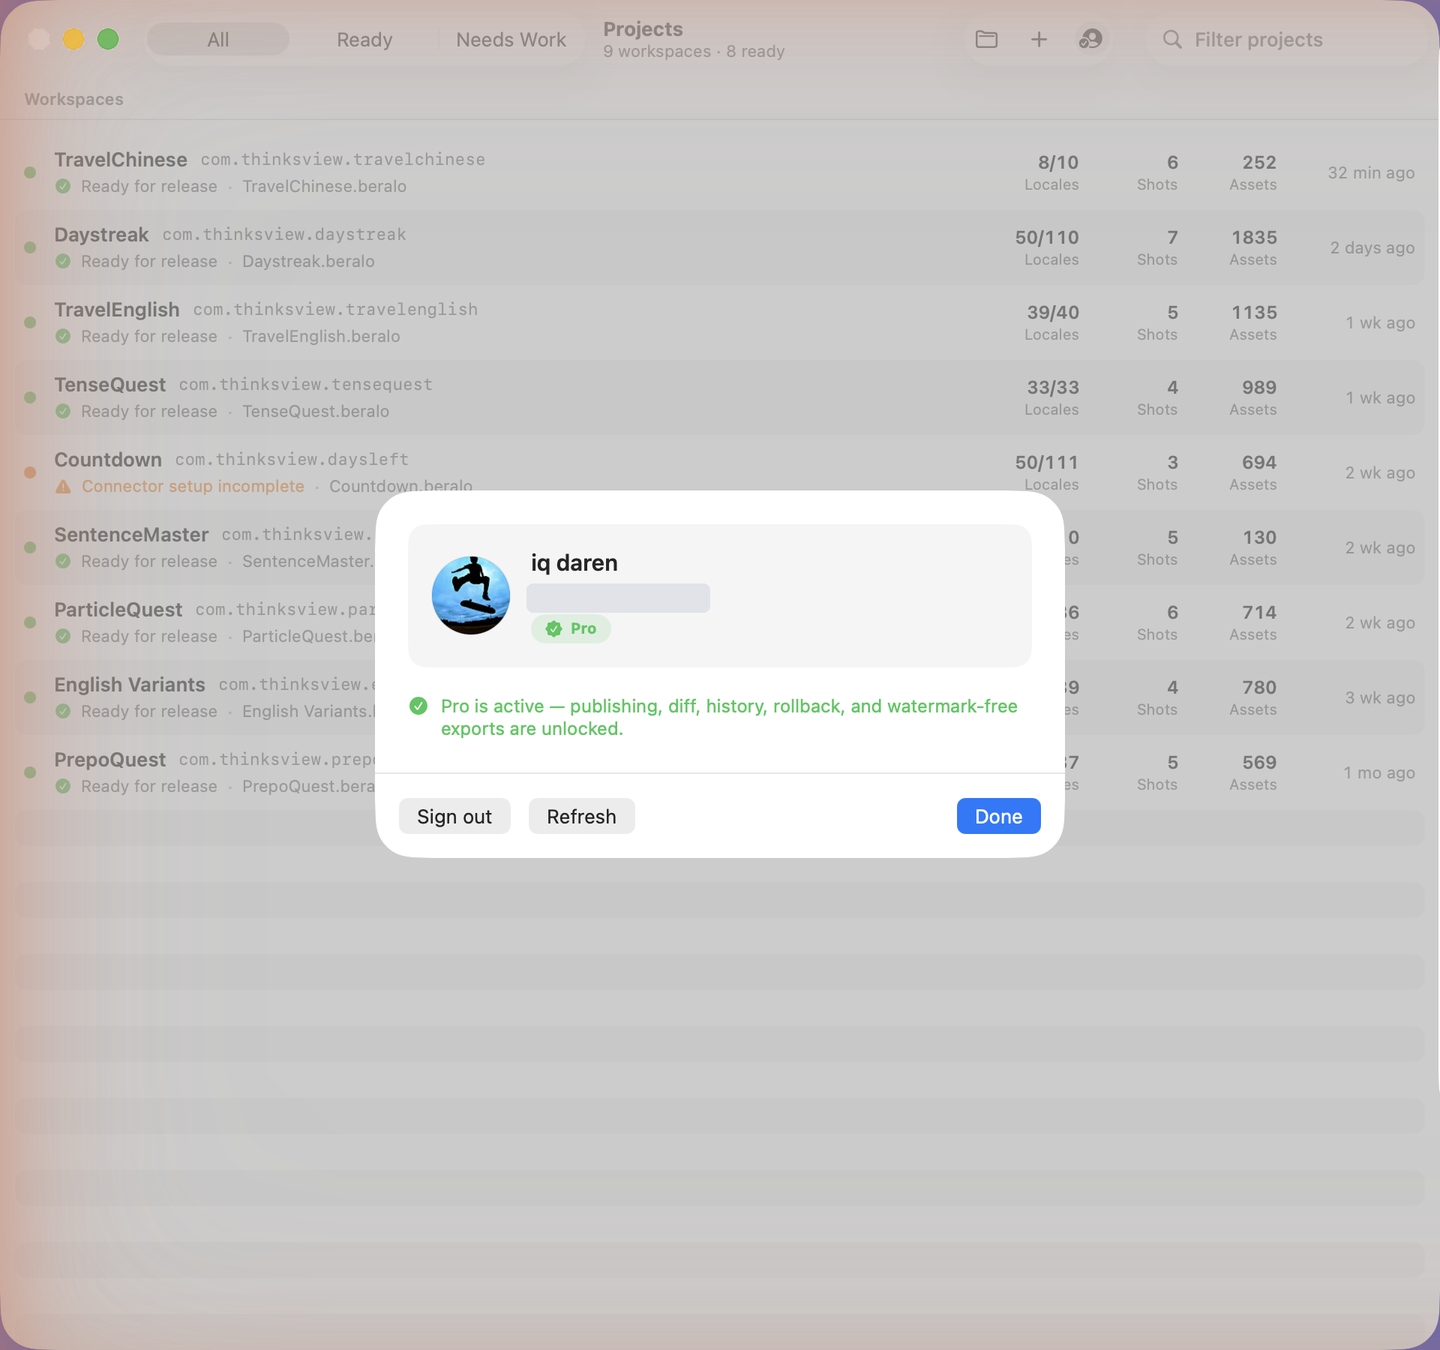
Everything lives in a workspace — a single .beralo folder on your Mac that holds your captures, rendered assets, localized copy, store snapshots, and publish history. The launch screen lists every workspace with its readiness, locale count, shot count, and asset count at a glance.
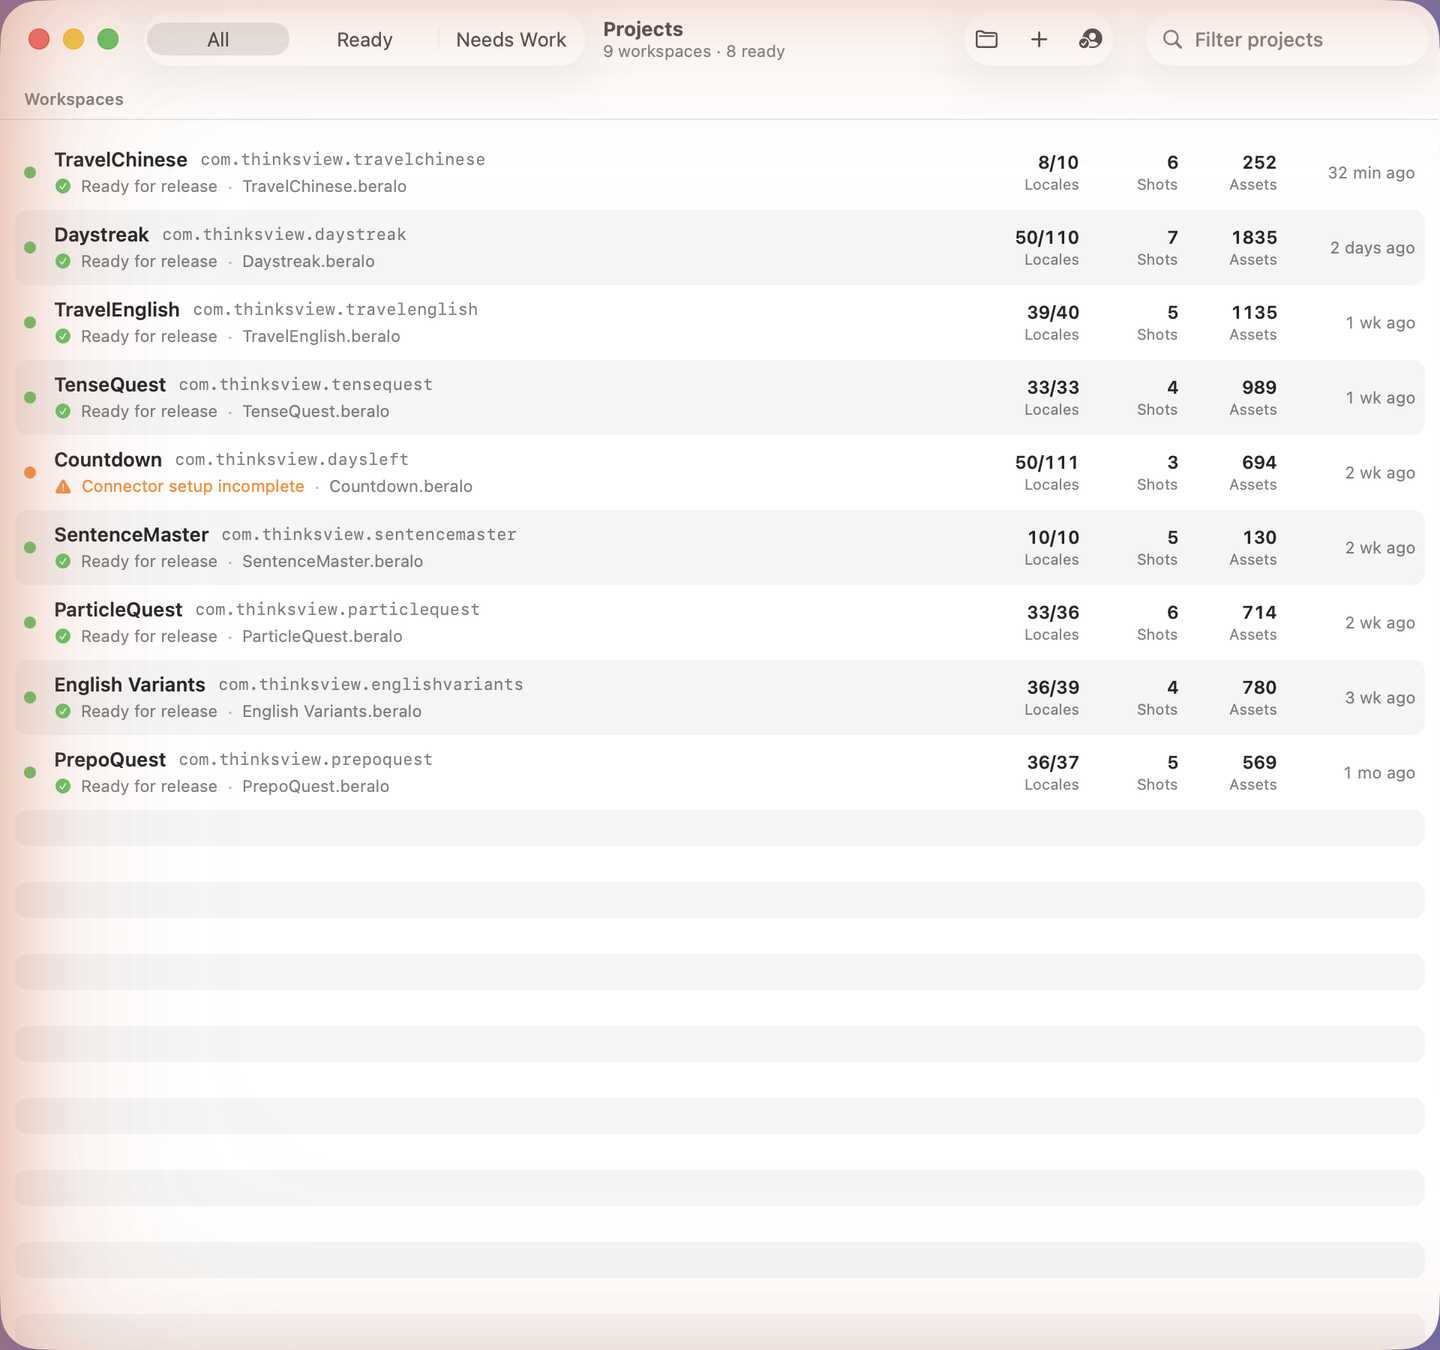
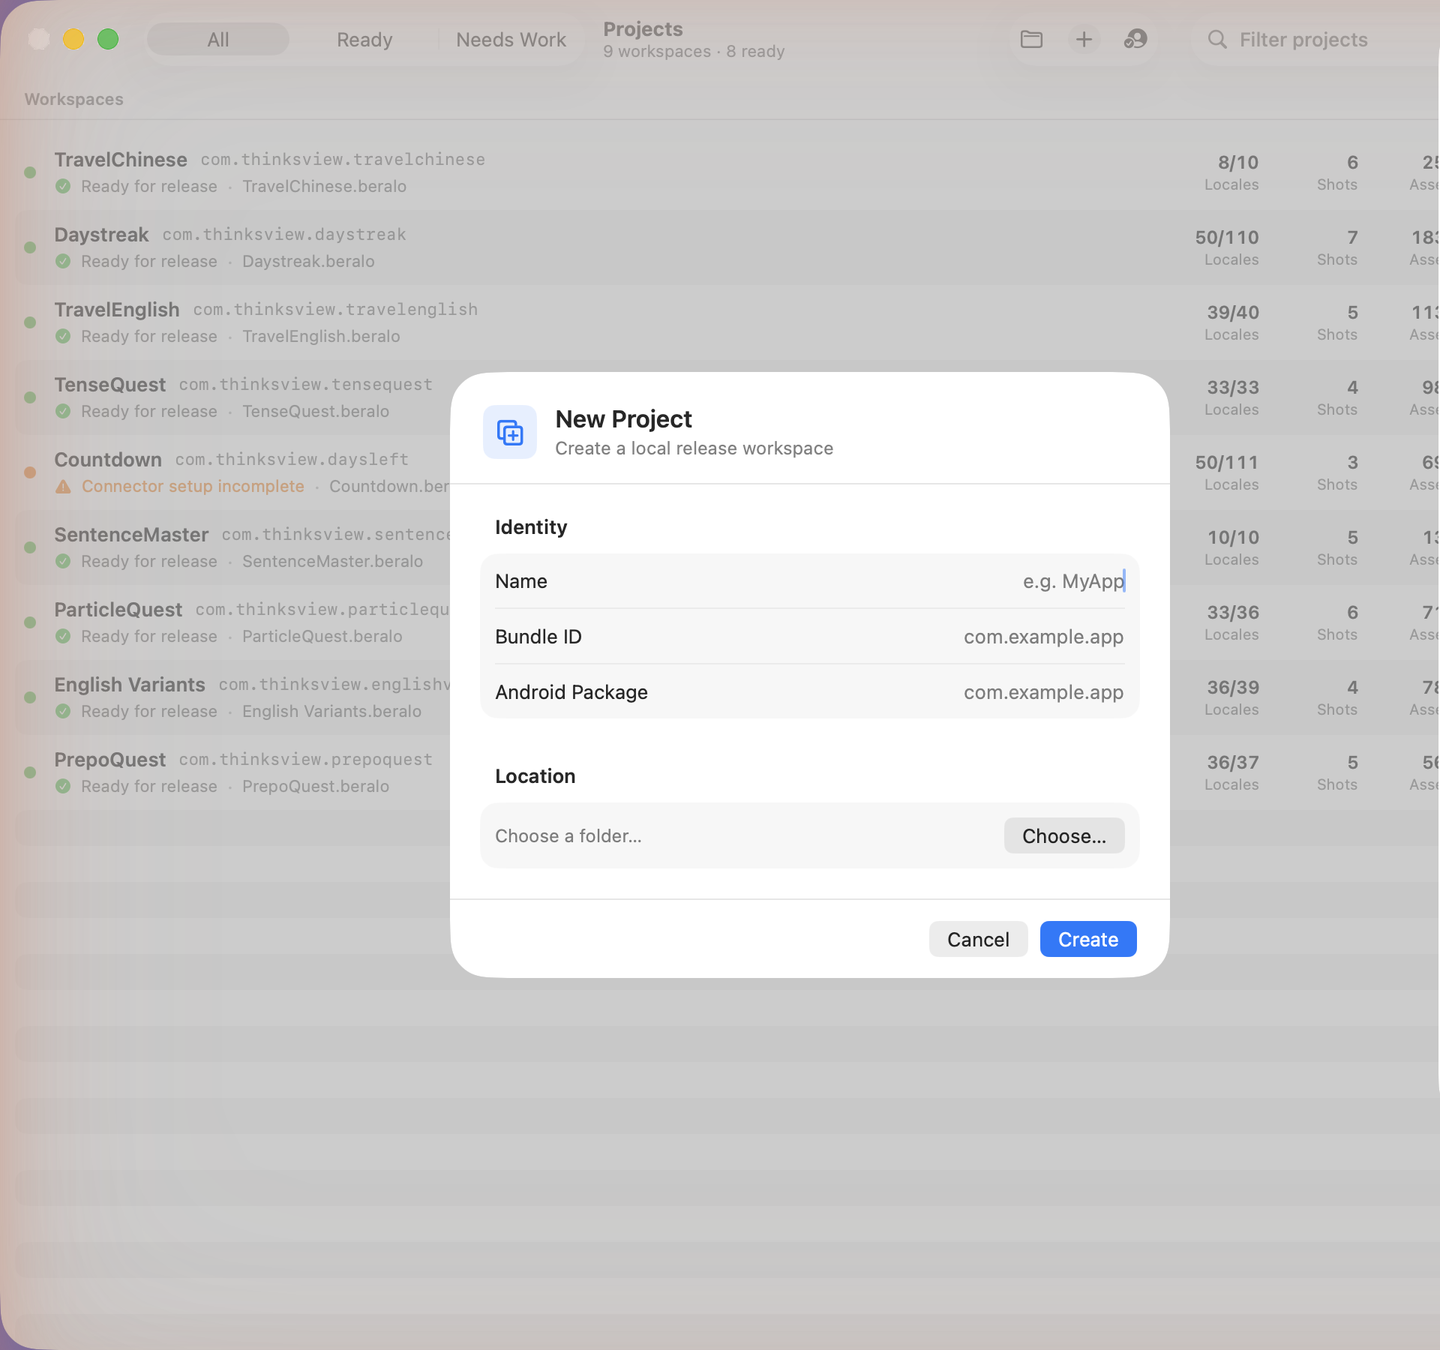
Create a new project with the + button: give it a name, your iOS bundle ID and Android package, and pick a folder. Everything stays local — nothing is uploaded until you publish.
The pipeline
Inside a project, the left sidebar is a five-stage pipeline you move through left to right:
- Foundation — project identity, locales, and shot definitions.
- Capture — take screenshots from simulators/emulators or import your own.
- Creative — write localized copy, preview framed screenshots, and render.
- Store — listing metadata and in-app purchase / subscription copy.
- Publish — review the plan and push to both stores.
1 · Foundation
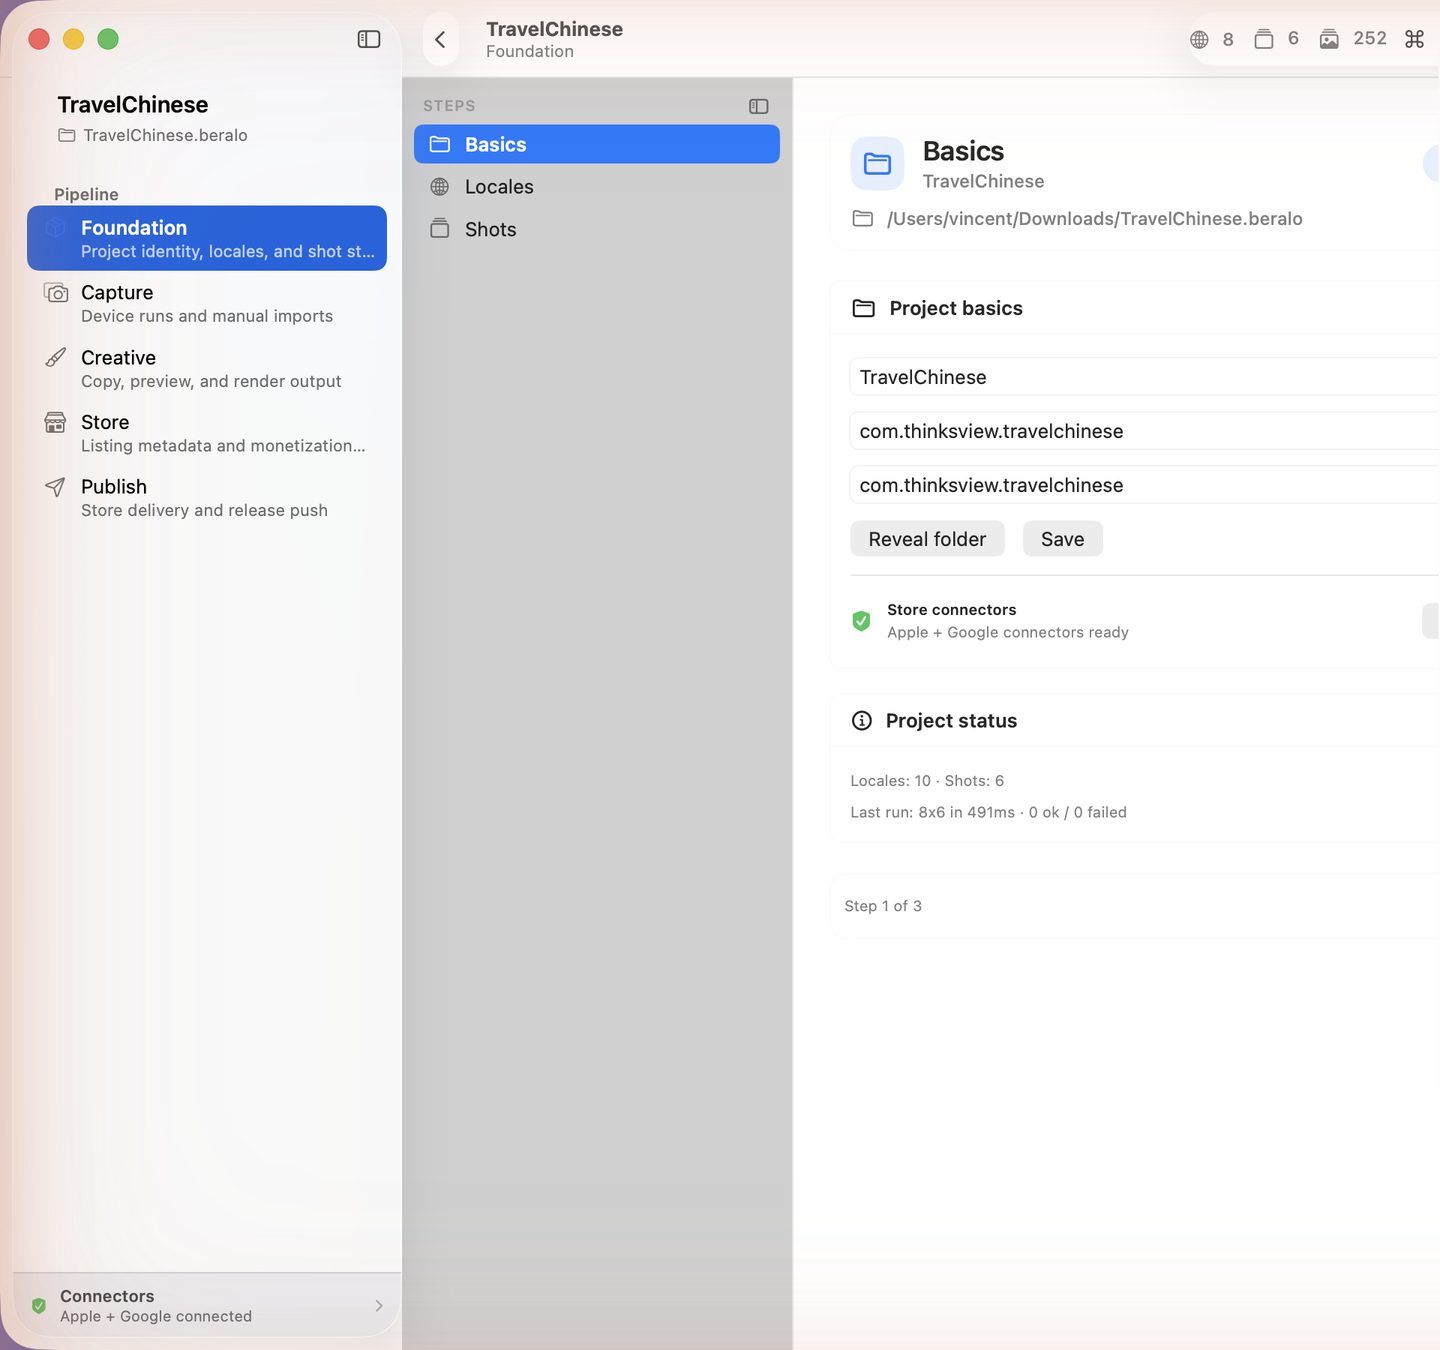
Foundation sets up the project. Under Basics you confirm the app name, iOS bundle ID, and Android package, and connect your store credentials (the green badge shows when Apple + Google connectors are ready). The Locales and Shots tabs define which languages you ship and which screenshots each run produces.
2 · Capture
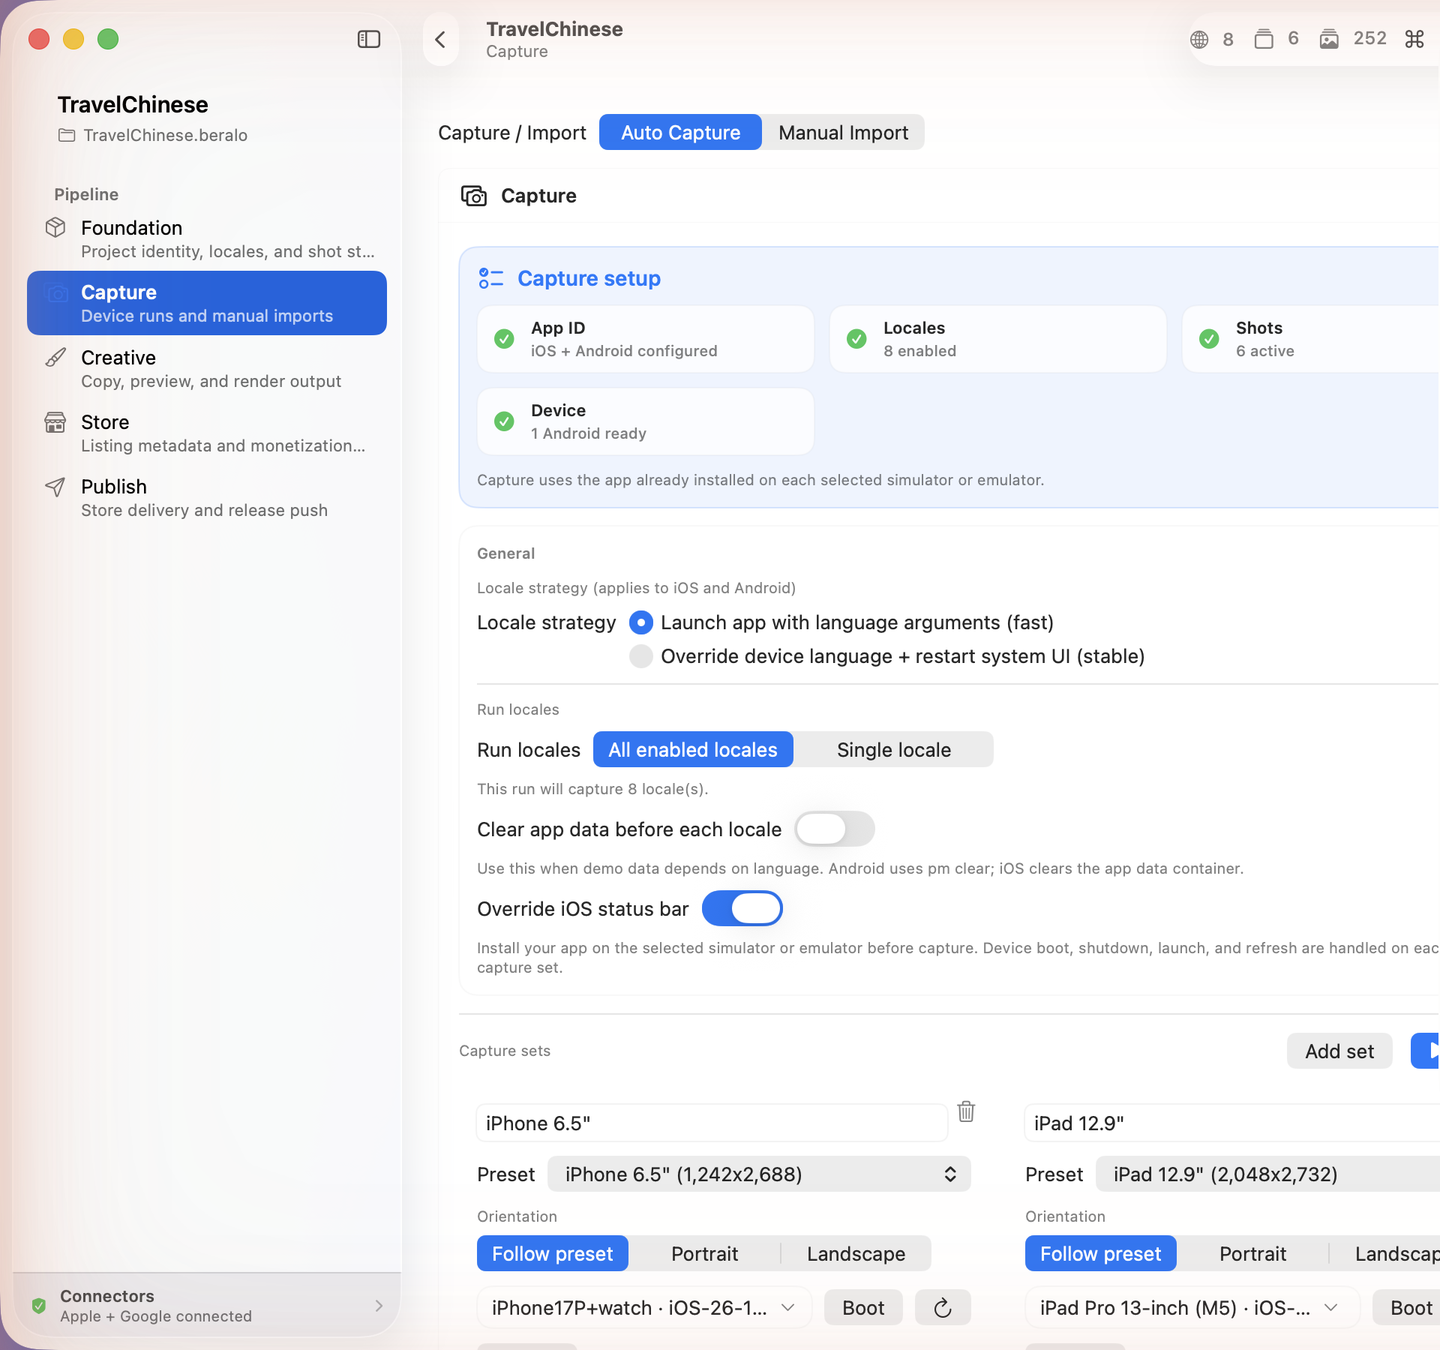
Capture produces the raw screenshots. With Auto Capture, Beralo launches your app on each selected simulator/emulator and grabs every shot in every enabled locale — choose a locale strategy (fast language-args vs. full device-language restart), optionally clear app data per locale, and override the iOS status bar for a clean 9:41 frame. Each capture set targets a device size (iPhone 6.5", iPad 12.9", Android phone/tablet) with its own preset and orientation. Prefer your own images? Use Manual Import instead.
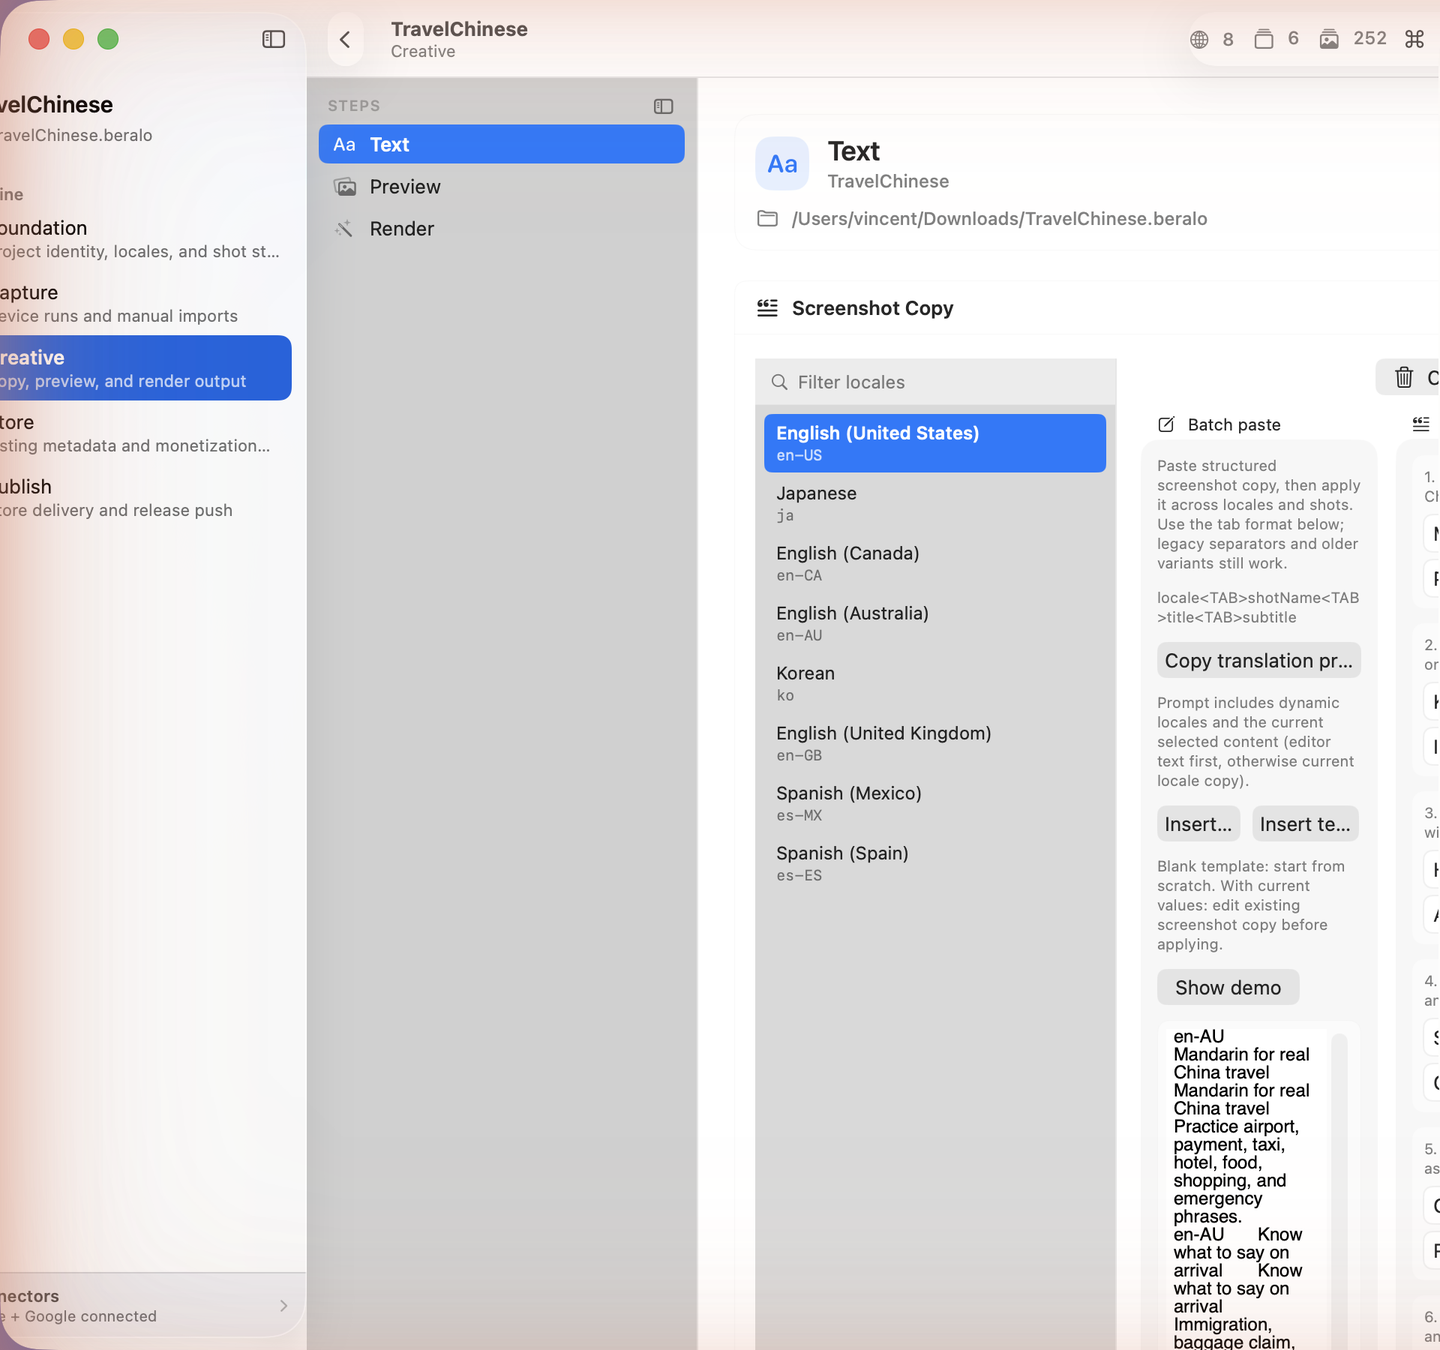
3 · Creative
Creative is where raw screenshots become store-ready images. The Text step holds your per-locale screenshot copy (the headline and subtitle on each frame). Edit a locale by hand, paste a structured batch for all locales at once, or copy a ready-made translation prompt to generate copy and paste it back.
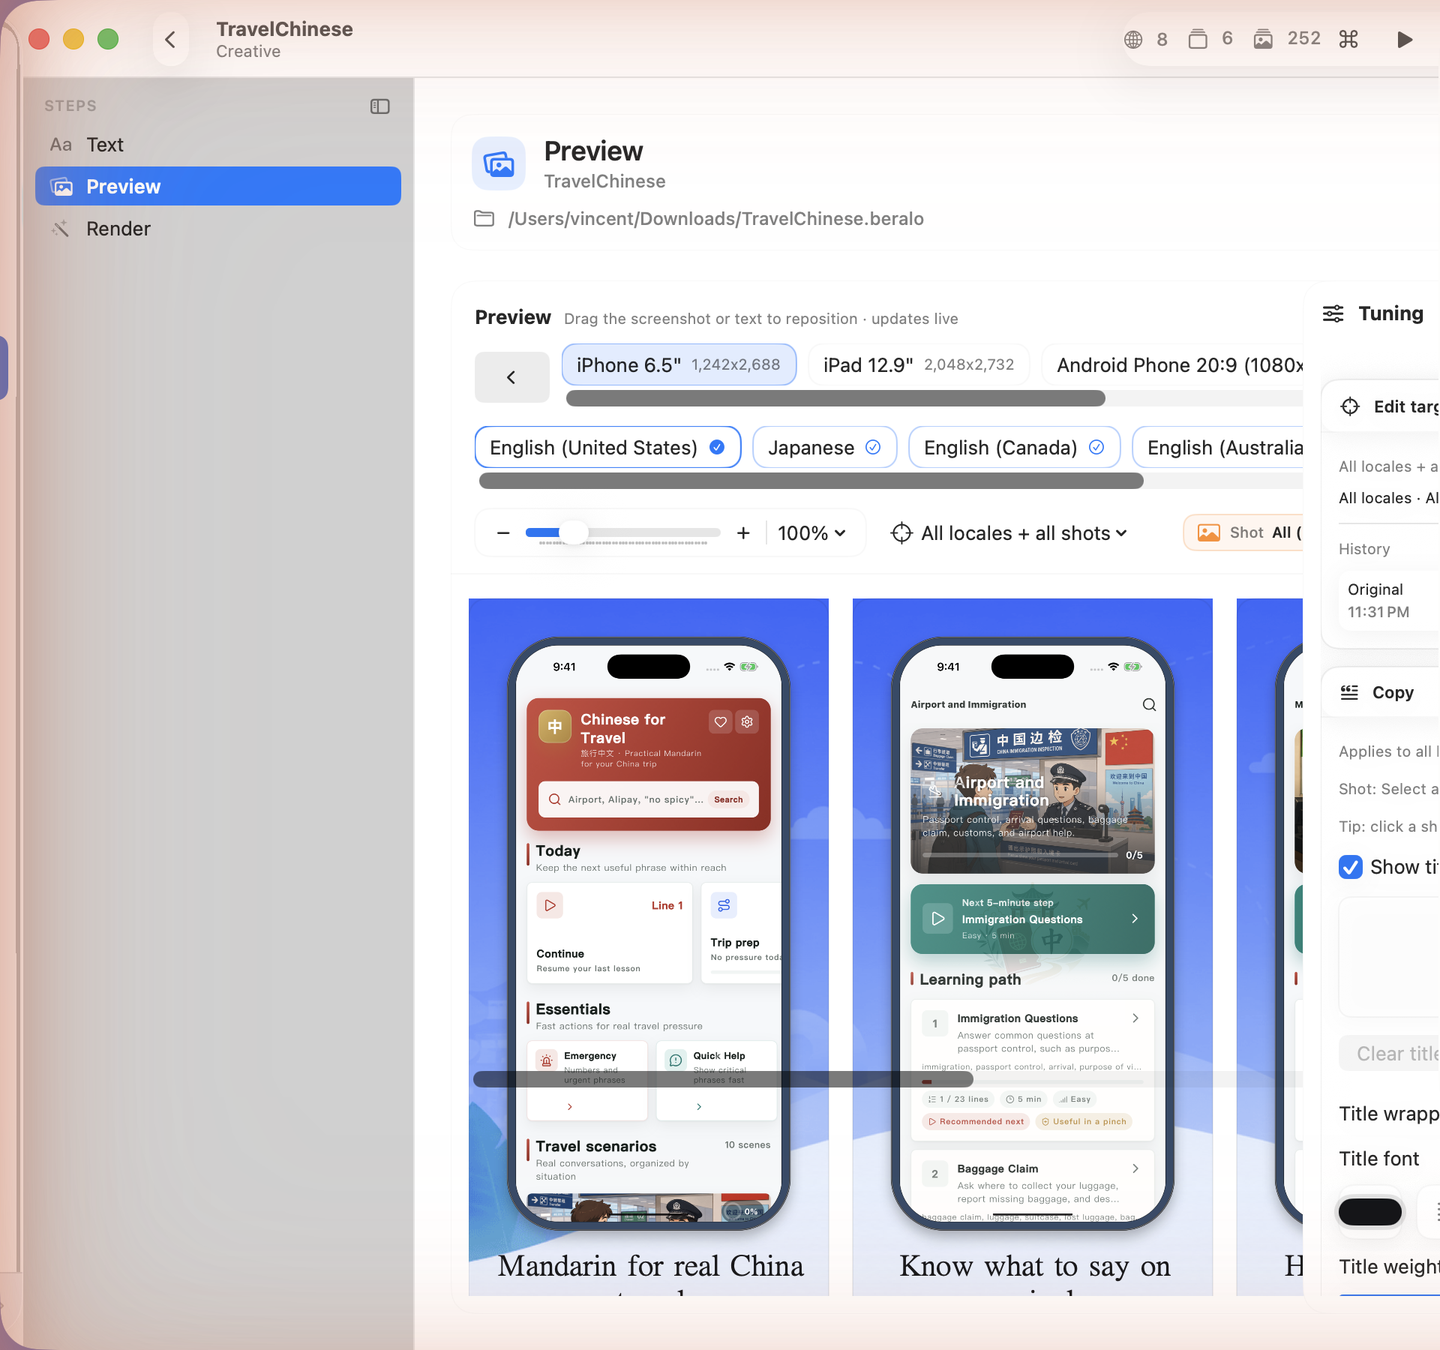
The Preview step shows the final framed screenshots live, per locale and device. Drag to reposition the device or text, and use the Tuning panel to adjust the title — show/hide, wrapping, font, weight, and alignment — with a history you can revert. The Render step then exports the finished images (free exports carry a small watermark; Pro removes it).
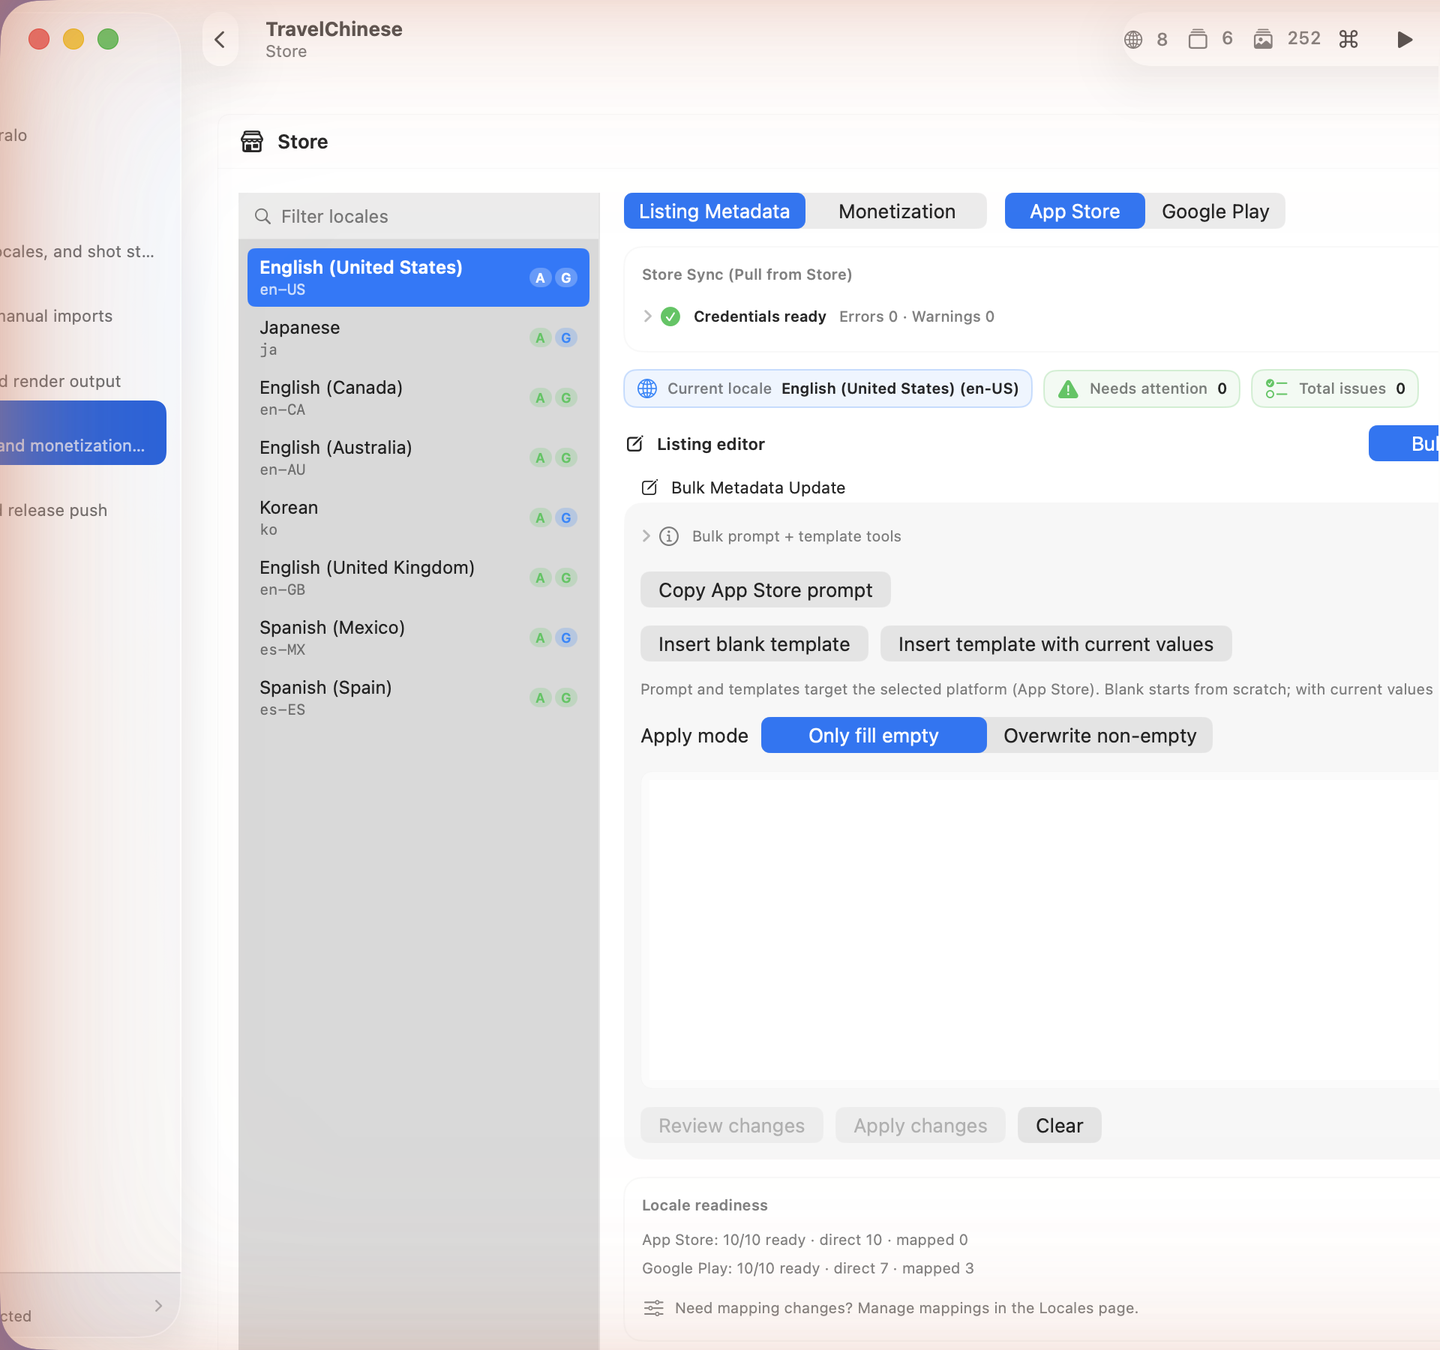
4 · Store
Store manages the text of your listing. Under Listing Metadata, pick a locale and edit the App Store or Google Play fields — app name, subtitle, keywords, description, and release notes — with live character-limit counters so a field never gets rejected. Use Single locale form for one language at a time, or Bulk update to apply structured copy across locales. Store Sync pulls the current live listing so you're always editing against reality.
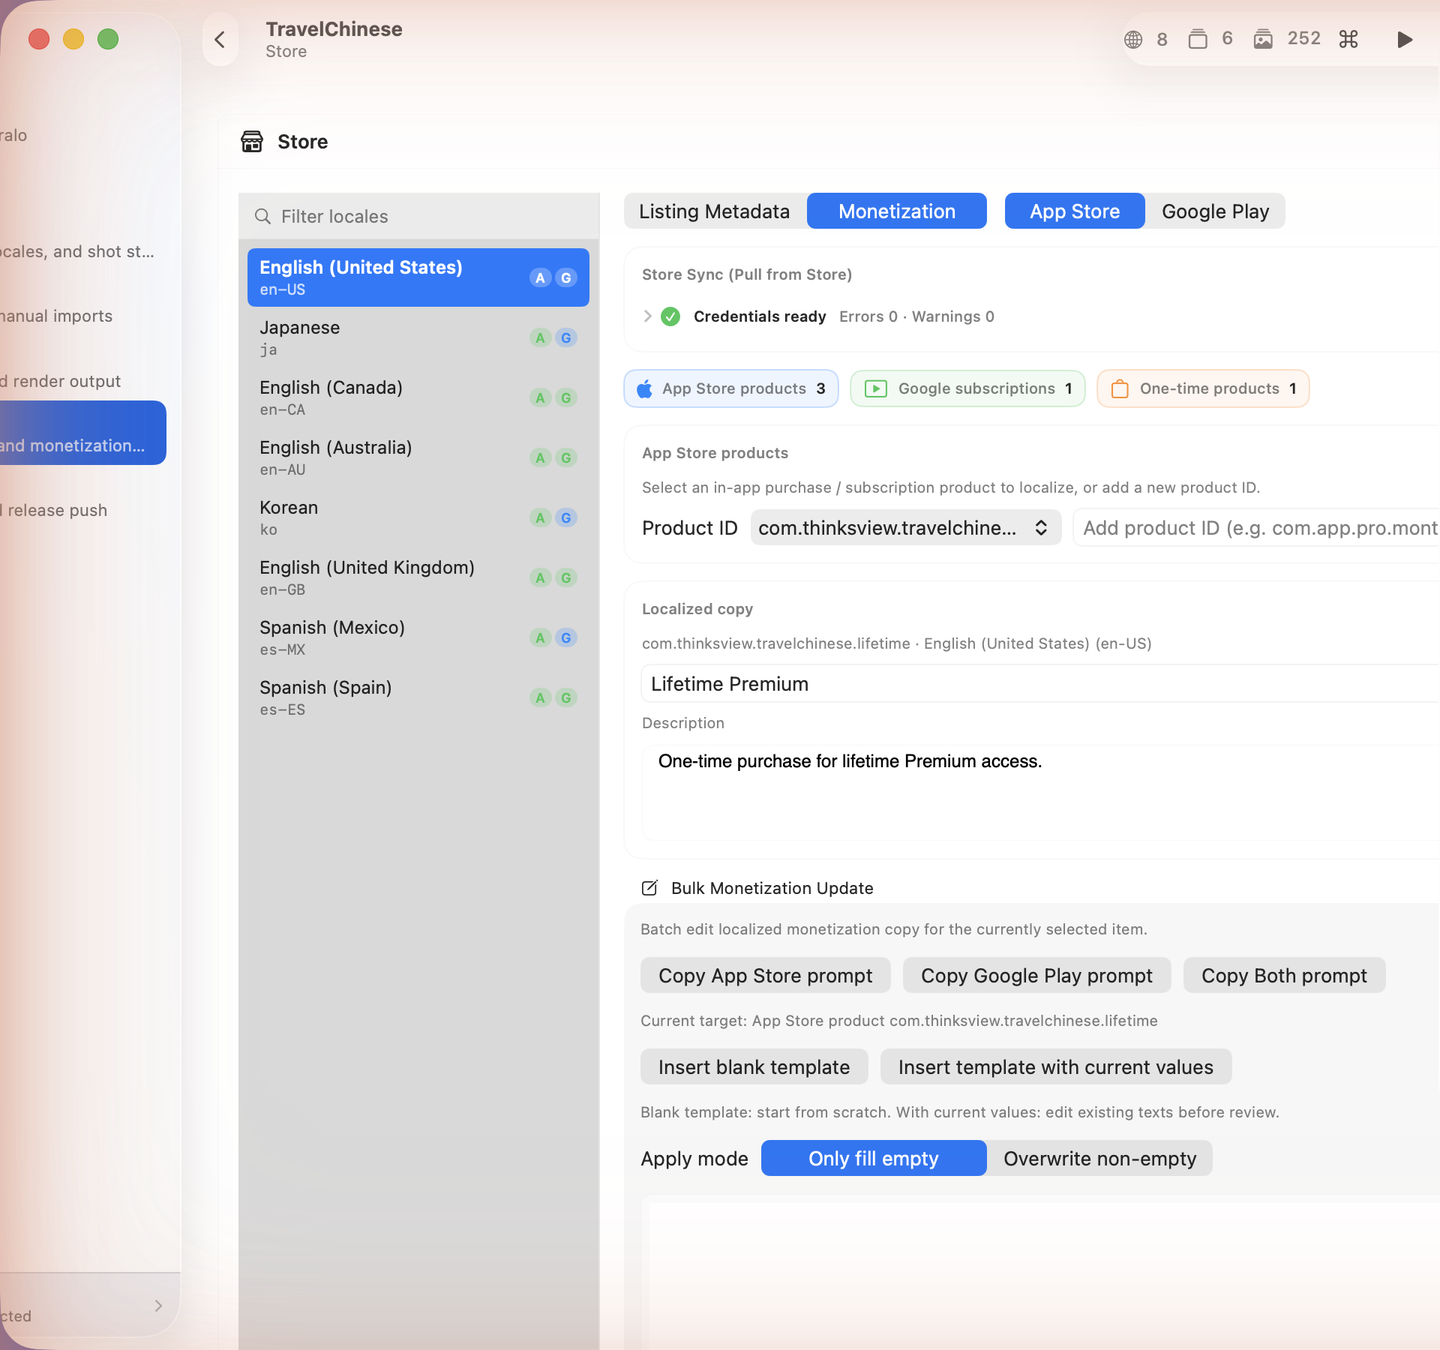
The Monetization tab does the same for your in-app purchases and subscriptions: select a product and localize its display name and description for every market, with the same bulk tools.
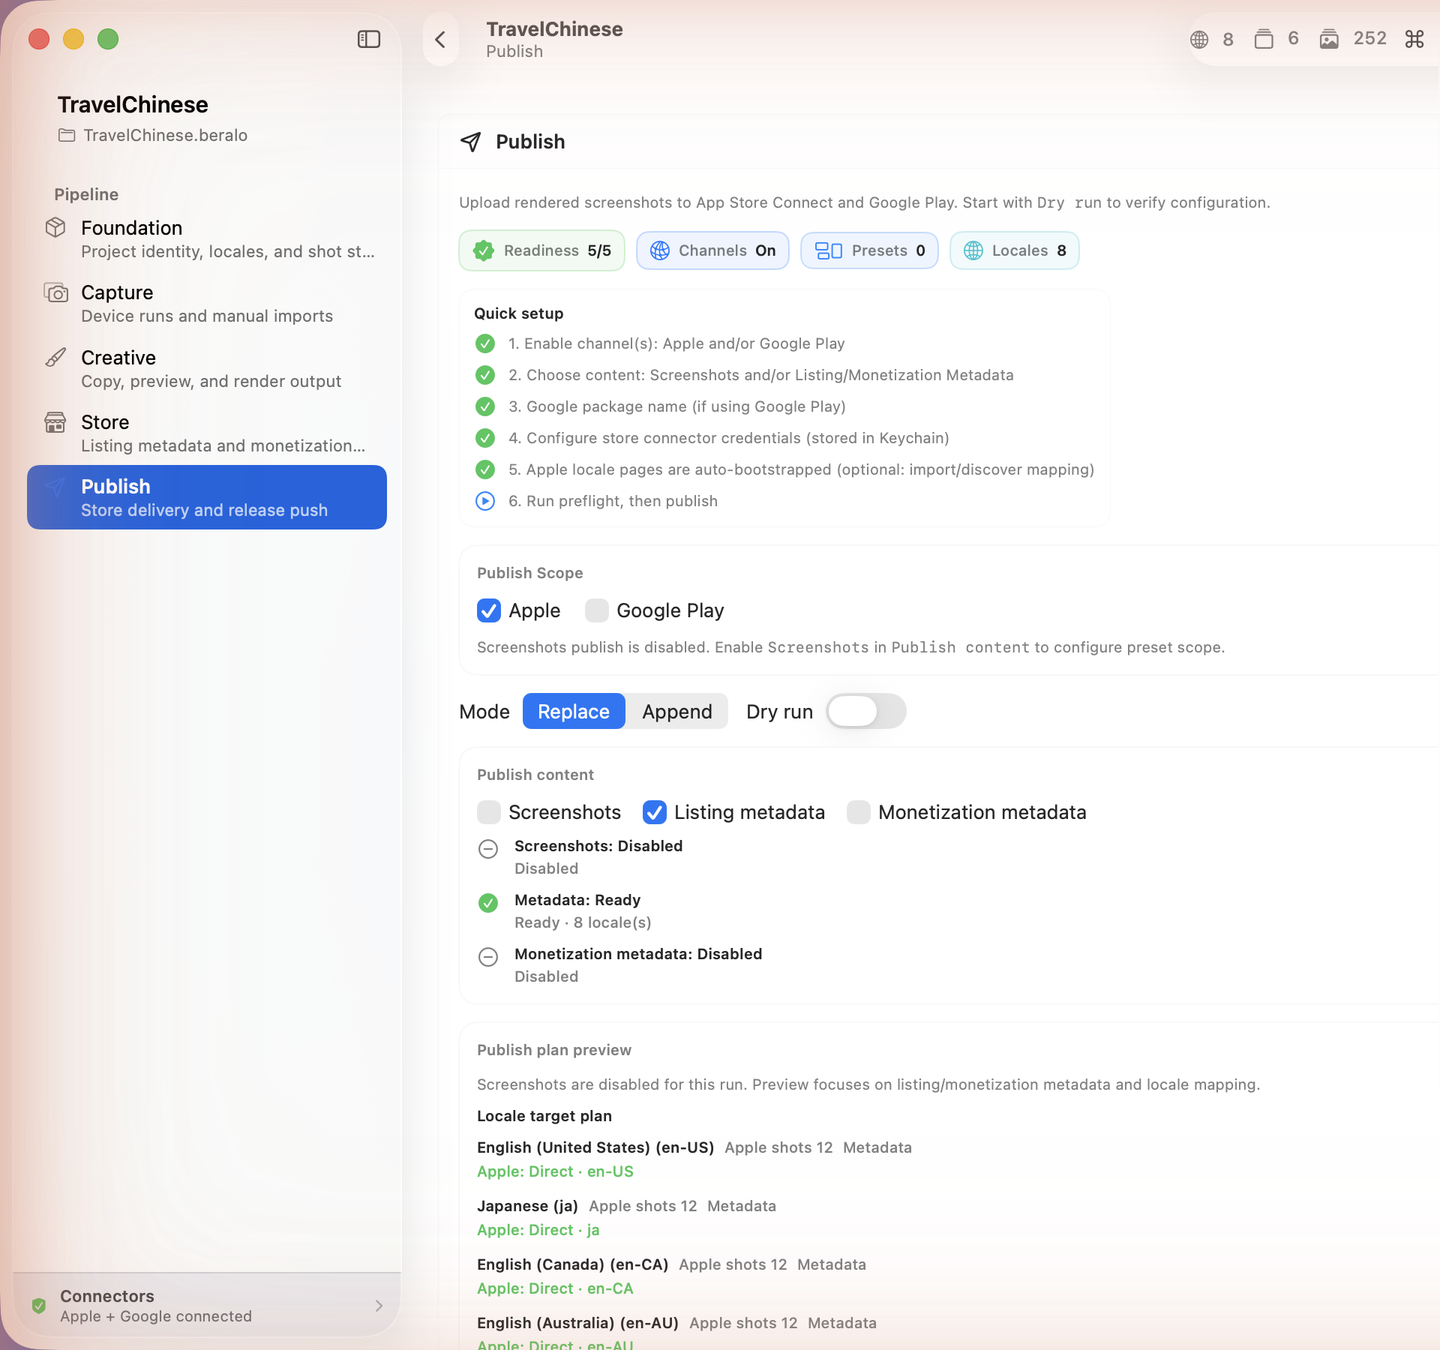
5 · Publish
Publish pushes everything to the stores. Pick the channels (Apple and/or Google Play) and the content (screenshots, listing metadata, monetization metadata), then review the publish plan — a per-locale breakdown of exactly what will change. Always start with Dry run to verify configuration without touching the live store; when it's clean, switch it off and publish. Publishing keeps a snapshot so you can roll back. (Real publishing is a Pro feature; dry-run and the diff are free.)
Connectors
To pull live listings and publish, Beralo needs your store credentials: an App Store Connect API key and a Google Play service account. You add them once (Foundation → Configure, or the Connectors button); they are stored locally in your Mac's Keychain and never sent to us. The Connectors badge turns green when both are ready.
Account & Pro
Sign in with Google to unlock and sync Pro across your Macs. The full editor — capture, render, localized copy, dry-run preview, and local export — is free. Pro unlocks one-click publishing to both stores, the pre-publish diff, history, rollback, and watermark-free exports. Pro is available as an annual subscription with a free trial, or a one-time lifetime purchase — see pricing.
Still stuck?
We're happy to help with setup, publishing, or your account.